Tap or click on any platform below to learn more about its integration
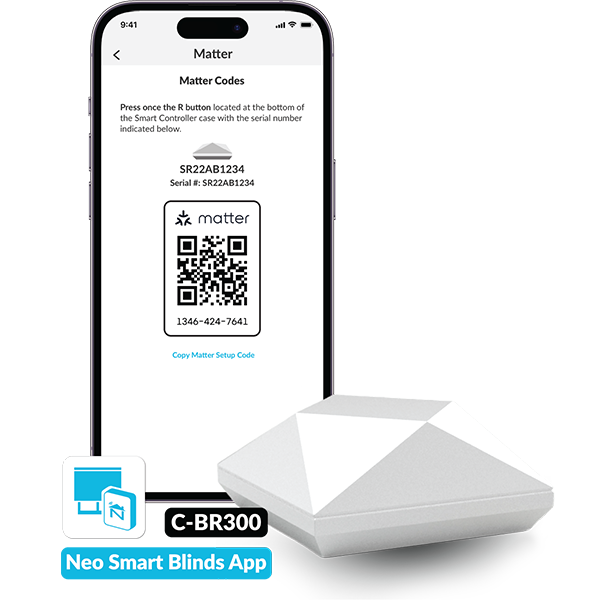
Matter integration is now available for Smart Controllers model C-BR300 and Neo Smart Blinds app version 5.2.0 or later. This enables support for over 20 RF motorized blind brands and expands compatibility to platforms like Apple Home and Samsung SmartThings. Use our Help Center guides to learn how to set up the integration and explore its features.
Explore our materials to better understand Matter, how it works with the Smart Controller, and how to promote this new feature.
By integrating the Smart Controller to a voice assistant such as Alexa, Siri Shortcuts or Google Assistant, you can control your blinds using your voice.
"Alexa, open Kitchen blinds."
"Siri, open Living Room Left to 50%" available to rooms and blinds compatible with percentage position


Our comprehensive online documentation in the Help Center is continuously updated to offer the assistance you require. Easily navigate to the specific integration you're interested in by clicking its logo on the section above to access relevant sections in our Help Center.
Alternatively, feel free to reach out to us via phone or email for personalized support. You'll find all our contact details and office hours conveniently listed on the Contact page.
Neo Smart Blinds designs and manufactures motors and automation products for the worldwide window coverings industry.